Welcome to the Mini Ultra Kenmore Sewing Machine Manual, a comprehensive guide designed to help users master their sewing machine’s operation, maintenance, and troubleshooting. This manual provides detailed instructions for optimal performance and longevity of the machine.
1.1 Overview of the Manual
The Mini Ultra Kenmore Sewing Machine Manual is a detailed guide providing comprehensive instructions for operating, maintaining, and troubleshooting your sewing machine. Organized into clear sections, it covers essential topics such as threading, bobbin winding, and adjusting thread tension. The manual also includes model-specific instructions, safety precautions, and warranty information. Designed for both novice and experienced users, it serves as a valuable resource for maximizing the machine’s performance and longevity. Refer to this manual for step-by-step guidance and troubleshooting solutions to ensure optimal sewing results.
1.2 Key Features of the Mini Ultra Kenmore Sewing Machine
The Mini Ultra Kenmore Sewing Machine is designed for versatility and ease of use, featuring a compact build for portability. It includes multiple stitch options, a full rotary mechanism, and an automatic bobbin winder for efficient sewing. The machine is lightweight yet durable, making it ideal for both home and travel use. Its user-friendly interface and comprehensive control panel allow for precise adjustments, ensuring professional-grade results. These features make it a reliable choice for sewers of all skill levels, from basic repairs to creative projects.
Safety Precautions and Important Information
Always follow safety guidelines to ensure safe operation. Read the manual thoroughly before use. Keep children away and avoid loose clothing near moving parts.
2.1 General Safety Guidelines
- Always read the manual thoroughly before using the machine to ensure safe operation.
- Keep children and pets away from the sewing machine while in use.
- Avoid wearing loose clothing or jewelry that could get caught in moving parts.
- Use only attachments and accessories recommended by the manufacturer.
- Unplug the machine when not in use or during cleaning to prevent accidents.
- Handle needles and sharp objects with care to avoid injuries.
- Ensure the sewing area is well-lit and free from clutter.
- Never touch electrical components with wet hands or while standing on a damp surface.
2.2 Warranty and Product Information
The Mini Ultra Kenmore Sewing Machine is backed by a limited 1-year warranty covering defects in materials and workmanship. For warranty claims, contact Kenmore support with your model and serial number, located on the machine’s nomenclature plate. Retain these numbers for future reference, as they are essential for service and support. Sears, the manufacturer, ensures compliance with safety standards and provides reliable customer assistance. Proper registration and maintenance are recommended to uphold warranty validity and ensure optimal machine performance.
Parts and Accessories of the Mini Ultra Kenmore Sewing Machine
The Mini Ultra Kenmore Sewing Machine features essential components like the handwheel, spool pin, and thread guides. Accessories include bobbins, needles, and presser feet, ensuring versatility for various sewing tasks.
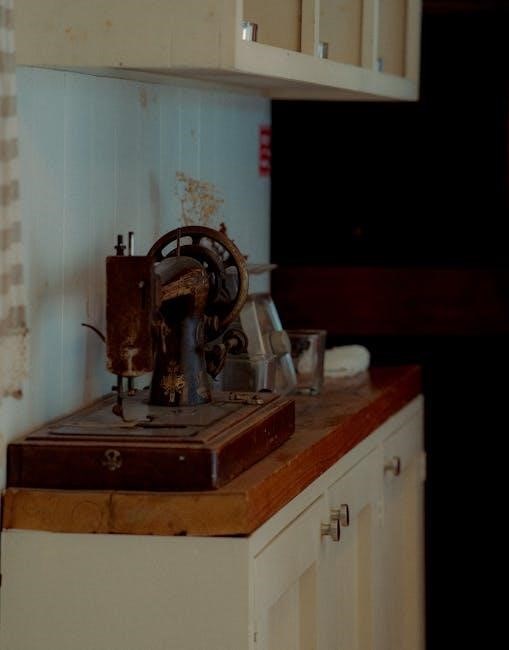
3.1 Identifying Machine Components
Identifying the components of the Mini Ultra Kenmore Sewing Machine is essential for proper operation. Key parts include the handwheel, spool pin, thread guides, and bobbin compartment. The model number, starting with 385.xxxx, is located on the machine’s nomenclature plate, as detailed on Page 4 of the manual. Familiarizing yourself with these components ensures efficient threading, bobbin installation, and overall machine functionality. Refer to the manual’s diagrams for precise locations and descriptions of each part.
3.2 Essential Accessories Included
The Mini Ultra Kenmore Sewing Machine comes with essential accessories to enhance your sewing experience. These include bobbin(s), sewing needles, a power cord, and a seam ripper. Additional items like a hardcover and instructional DVD may also be provided. These accessories ensure optimal performance and versatility for various sewing tasks. Always use recommended attachments to maintain machine functionality and avoid damage. Refer to the manual for a complete list of included accessories and their proper usage guidelines.
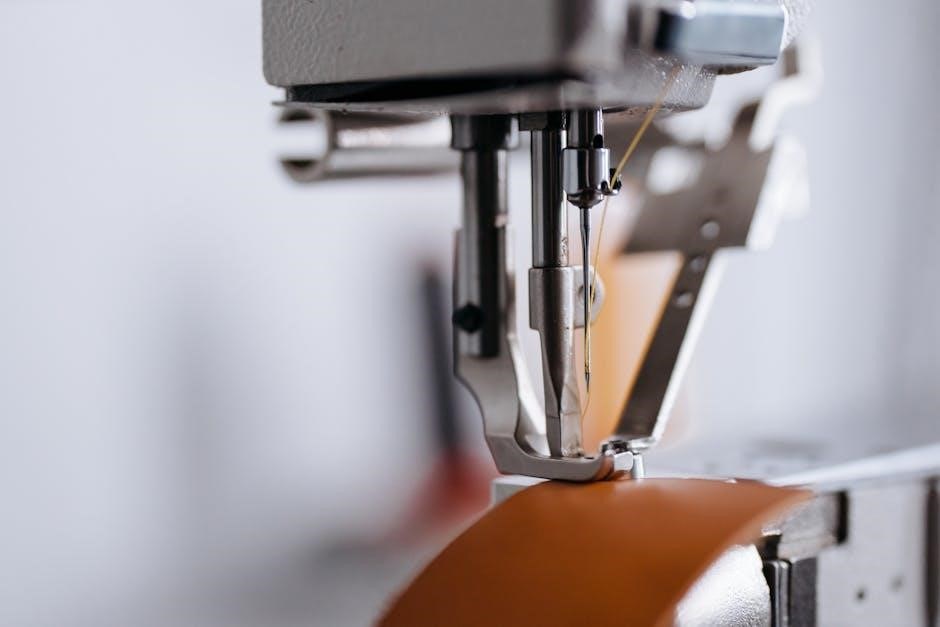
Threading the Machine
Threading the Mini Ultra Kenmore Sewing Machine involves guiding the thread through the spool pin, thread guides, and tension discs before inserting it into the needle. Proper threading ensures smooth stitching and prevents jams. Always refer to the manual for specific threading paths and tension adjustments. Incorrect threading can lead to machine malfunction or uneven stitches. Follow the step-by-step guide to achieve accurate thread placement every time.
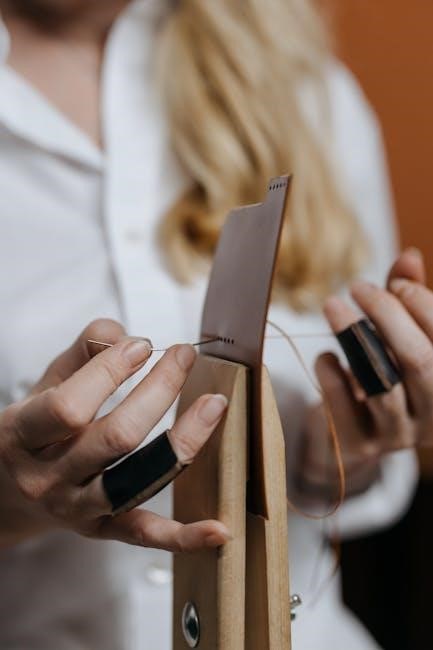
4.1 Step-by-Step Threading Guide
- Turn off the machine and ensure it is unplugged for safety.
- Place the thread spool on the spool pin and pull the thread through the first guide.
- Draw the thread through the tension discs, ensuring it is seated properly.
- Guide the thread through the take-up lever and then through the needle bar guide.
- Insert the thread into the needle from front to back.
- Leave a small thread tail and trim excess thread.
- Test the thread tension by gently pulling the thread.
4.2 Common Threading Mistakes to Avoid
When threading the Mini Ultra Kenmore Sewing Machine, avoid common mistakes like not cutting the thread at an angle or using the wrong thread type. Ensure the thread is properly seated in the tension discs and guides. Pulling the thread too tightly or leaving too little tail can cause issues. Avoid twisting the thread or overlapping it during the process. Always use the correct needle size for the thread to prevent breakage. Proper threading ensures smooth operation and prevents fabric puckering or uneven stitches.
Winding and Installing the Bobbin
Properly wind the bobbin by pulling the handwheel out, drawing thread from the spool, and guiding it around the thread guide. Wind evenly, cut excess, and install correctly.
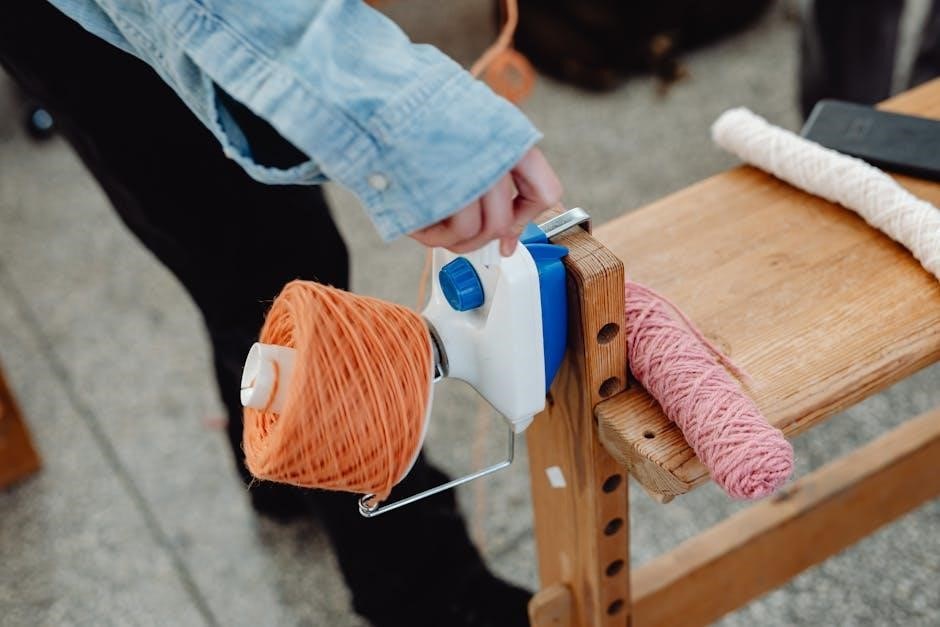
5.1 Proper Bobbin Winding Techniques
To ensure smooth sewing, proper bobbin winding is essential. Start by pulling the handwheel to disengage the needle mechanism. Draw thread from the spool and guide it through the thread path. Wind the bobbin evenly, keeping the thread taut but not overly tight. Avoid overfilling the bobbin, as this can cause sewing issues. Once wound, cut the excess thread and remove the bobbin from the winder. Properly wound bobbins ensure consistent stitch quality and prevent machine jams.
5.2 Installing the Bobbin Correctly
Installing the bobbin correctly ensures proper thread flow and stitch formation. Place the wound bobbin into the bobbin case, making sure the thread feeds through the case’s slot. Gently pull the thread to ensure it is not tangled or twisted. Insert the bobbin case into the machine’s bobbin area, aligning it with the case holder. Close the bobbin cover and test the machine with a few stitches to ensure smooth operation. Proper bobbin installation is crucial for consistent stitching and preventing thread breakage during sewing.
Adjusting Thread Tension
Adjusting thread tension on the Mini Ultra Kenmore Sewing Machine involves turning the tension dials to achieve balanced stitches. Proper tension prevents loose or tight stitching, ensuring even fabric flow.
6.1 Understanding Thread Tension Settings
Thread tension settings on the Mini Ultra Kenmore Sewing Machine regulate the balance between the upper and lower threads. Proper tension ensures even stitching and prevents fabric puckering or looping. The machine features adjustable dials that allow customization based on fabric type and thickness. Maintaining the correct tension is crucial for consistent stitching quality. Always test tension by sewing a sample fabric scrap before starting your project. Refer to the manual for specific guidance on adjusting tension for various sewing tasks and materials.
6.2 Troubleshooting Thread Tension Issues
Common thread tension issues on the Mini Ultra Kenmore Sewing Machine include uneven stitching, fabric puckering, or thread looping. Check if the upper thread is correctly threaded through the tension disc and take-up lever. Ensure the bobbin thread is properly seated and not tangled. Clean debris from the tension discs and rethread the machine if necessary. If issues persist, refer to the manual for specific adjustment steps or reset the tension to the default setting. Regular maintenance and proper threading techniques can prevent most tension-related problems.
Sewing Machine Maintenance
Regular cleaning and oiling are essential for the Mini Ultra Kenmore Sewing Machine. Lubricate moving parts and remove dust to ensure smooth operation and longevity of the machine.
7.1 Cleaning the Machine
Regular cleaning is crucial for maintaining the performance of the Mini Ultra Kenmore Sewing Machine. Use a soft brush to remove lint and debris from the bobbin area and tension discs. Gently wipe the exterior with a lint-free cloth to prevent dust buildup. Avoid using harsh chemicals or abrasive materials that could damage the machine’s finish. For internal cleaning, refer to the manual’s guidance on accessing and cleaning the machine’s inner components. Regular maintenance ensures smooth operation and extends the machine’s lifespan.
7;2 Oiling and Lubricating the Machine
Regular oiling is essential to keep the Mini Ultra Kenmore Sewing Machine running smoothly. Use only the sewing machine oil recommended in the manual. Apply a few drops to the machine’s lubrication points, such as the handwheel and bobbin area. Avoid over-lubrication, as excess oil can attract dust and cause maintenance issues. Refer to the manual for specific instructions on where and how often to oil. Proper lubrication ensures the machine’s mechanisms move freely, preventing friction and wear. Always test a few stitches after lubricating to ensure optimal performance.
Troubleshooting Common Issues
Identify common issues such as thread breakage or uneven stitches. Consult the manual for solutions. Regular maintenance often resolves many problems. Ensure proper machine setup.
8.1 Diagnosing Machine Malfunctions
Start by checking the basics: thread tension, bobbin installation, and power supply. Uneven stitches or thread breakage often indicate improper threading or tension issues. If the machine does not turn on, ensure it is properly plugged in and the power switch is functioning. Bobbin problems can cause inconsistent stitching or jamming. Always refer to the manual for specific troubleshooting steps. Regular maintenance, like cleaning and oiling, can prevent many issues. Identify symptoms systematically to pinpoint the root cause of the malfunction.
8.2 Solutions for Common Sewing Problems
For thread breakage, check the spool and bobbin for tangles and ensure proper threading. Adjust the thread tension if stitches are uneven or loose. If the machine jams, gently remove fabric and clear any debris. Machine noise may indicate the need for lubrication or cleaning. Re-thread the machine with the presser foot up and ensure the bobbin is correctly installed. Refer to the manual for specific solutions and always use Kenmore-recommended parts for repairs to maintain performance and extend the machine’s lifespan.
Sewing Machine Manual Specifics
The Mini Ultra Kenmore Sewing Machine Manual is a detailed guide, organized into sections for easy navigation. It includes model-specific instructions and resources for downloading the manual and contacting support.
9.1 Navigating the Manual
The Mini Ultra Kenmore Sewing Machine Manual is designed to be user-friendly, with a clear table of contents and index for quick access to specific topics. The manual is divided into logical sections, each addressing a particular aspect of the machine, such as threading, bobbin winding, and troubleshooting. Digital versions often include a search feature, allowing users to instantly locate information. Model-specific instructions are highlighted, ensuring relevance for your particular device. This organized structure makes it easy to find guidance on any sewing task or maintenance procedure.
9.2 Model-Specific Instructions
The manual includes model-specific instructions tailored to the Mini Ultra Kenmore Sewing Machine. Users are guided to locate their machine’s model number, which typically starts with 385.xxxx, to access precise instructions. The manual covers topics like threading, bobbin winding, and troubleshooting specific to the Mini Ultra model. Detailed diagrams and illustrations are provided to ensure clarity. This section emphasizes features unique to the Mini Ultra, helping users optimize their sewing experience with personalized guidance for their particular machine.

Additional Resources and Support
Download the Mini Ultra Kenmore Sewing Machine Manual for detailed instructions. Visit Kenmore’s official website or Sears Parts Direct for additional resources, parts, and support options.
10.1 Downloading the Manual
The Mini Ultra Kenmore Sewing Machine Manual is easily accessible online. Visit Kenmore’s official website or Sears Parts Direct to download the PDF version. Ensure your machine’s model number, typically starting with 385.xxxx, is handy for accurate results. The manual is available for instant download, allowing you to save or print it for convenience. Additionally, platforms like ManualsLib offer free access to the manual, providing step-by-step guides and troubleshooting tips. This resource ensures you have all the information needed to operate and maintain your sewing machine effectively.
10.2 Contacting Kenmore Support
For assistance with your Mini Ultra Kenmore Sewing Machine, contact Kenmore support directly. Visit Kenmore’s official website or Sears Parts Direct for customer service options. You can reach support via phone, email, or live chat. Be prepared to provide your machine’s model number, often starting with 385.xxxx, for efficient troubleshooting. Kenmore support is available to address repair inquiries, maintenance questions, and technical issues, ensuring your sewing machine operates smoothly. Always have your model number ready for faster assistance.
The Mini Ultra Kenmore Sewing Machine Manual provides essential guidance for mastering your machine. By following the instructions, you can ensure optimal performance, proper maintenance, and effective troubleshooting. Happy sewing!
11.1 Summary of Key Points
This manual provides a detailed guide for the Mini Ultra Kenmore Sewing Machine, covering essential topics like threading, bobbin winding, thread tension, and maintenance. It offers practical advice for troubleshooting common issues and ensuring optimal performance. By following the instructions, users can master various sewing techniques and extend the machine’s lifespan. The manual emphasizes safety precautions and proper usage, making it a vital resource for both beginners and experienced sewists. Refer to the manual regularly to maintain your machine and achieve professional-quality results in your sewing projects.
11.2 Final Tips for Optimal Machine Performance
Regularly clean and lubricate the machine to ensure smooth operation. Always use the correct needle type and thread for your fabric. Store the machine in a dry, stable environment to prevent damage. Follow the manual’s maintenance schedule to extend the machine’s lifespan. Practice proper threading and bobbin installation to avoid common issues. Keep the machine balanced and level for consistent stitching. Refer to the troubleshooting section for quick solutions. By following these tips, you can enjoy years of reliable performance from your Mini Ultra Kenmore Sewing Machine.